When the initial search has found the required person record and that record has been opened on the User Management screen, but the person found is not a user then the person must be created as a user.
To manage users, you can:
-
Click the Create User button on the Admin Commands ribbon.

The Create User window is displayed.
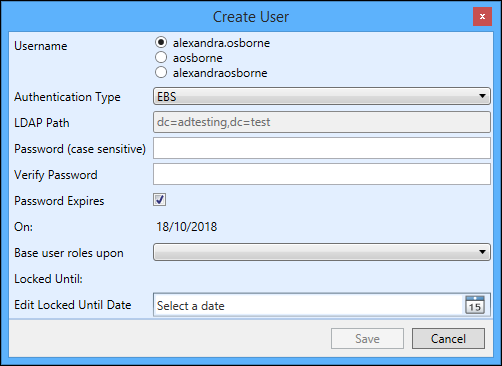
- Enter the required details for the user.
The fields on the Create User window are described in the following table.
| This field | Holds this information... |
|---|---|
| Username |
The username for the user. Select the required option. The available usernames are either generated from the forename/surname, or can be individually specified by entering the required value in the College Login field on the Staff Details tab. |
| Authentication Type | The authentication type. Select EBS or Active Directory. |
| LDAP Path |
The LDAP path. This field is only displayed if Active Directory is selected as the authentication type. |
| Password (case sensitive) |
The password for the user. The password length/complexity is checked against the criteria set in the User validation password pattern institution setting. If the password entered does not meet the password criteria, the Password field is highlighted in red and a tooltip displayed when hovering the cursor over the field with the text set in the User validation password message institution setting. |
| Verify Password | Re-enter the password for this user to verify the password. |
| Password Expires |
Whether there is a password expiry for the user. See Configure Password Expiry Dates for more information. This is selected by default when creating a new user, however it is not selected for existing users who will have a non-expiring password unless this check box is manually selected. |
| On |
The date the password expires for the user. This field is only displayed if the Password Expiry check box is selected, and defaults to the current system date. |
| Base User Roles Upon | When a group of records has been selected, any existing users will display in this field. The new user can have roles assigned based on a user selected from the drop-down list. |
| Locked Until | The date and time the user account is locked until based on the value set in the Failed login account lockout time (minutes) institution setting plus the current date and time (read only). |
| Edit Locked Until Date | Use this field to enter a different date in the future from that entered in the Locked Until field or clear the date in the field to unlock an account (for example: this could be used to lock an account for a week if a learner is on a temporary suspension). |
-
Click Save.
The user is created.
To edit a user:
-
Click the Edit User button on the Admin Commands ribbon.

The Edit User window is displayed.
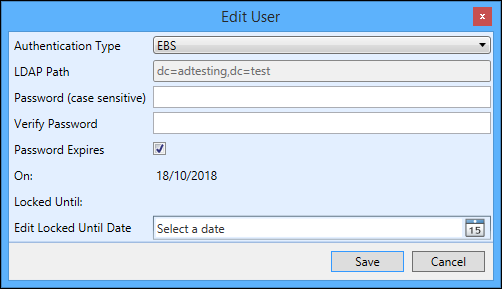
- Make the required changes to the user account details.
-
Click Save.
The user account details are updated.
To delete a user:
-
Click the Delete User button on the Admin Commands ribbon.

The Delete User message is displayed.

-
Click OK.
The user is deleted and any associated roles and group memberships removed.
You can configure a password expiry date for users so they are forced to change their password on a regular basis to improve system security.
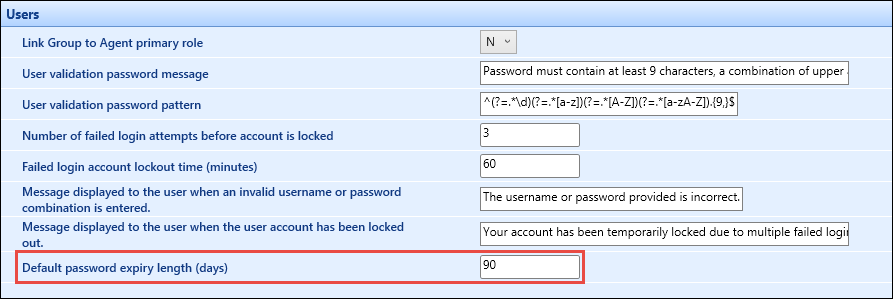
The Default password expiry length (days) institution setting is available on the Users screen so you can configure the number of days before a user is prompted to change their password. This is set to 90 days by default.
When adding or editing a user on the Create User or Edit User windows in user management, the Password Expires check box is available so you can set that a user has a password expiry.
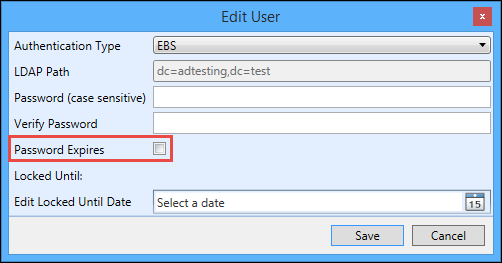
When the Password Expires check box is selected for a user, an additional field is displayed with the current system date so users are forced to change their password for the following:
- New users
- If the Password Expires check box is selected for the first time
- If an administrator changes the password on the Create User or Edit User window
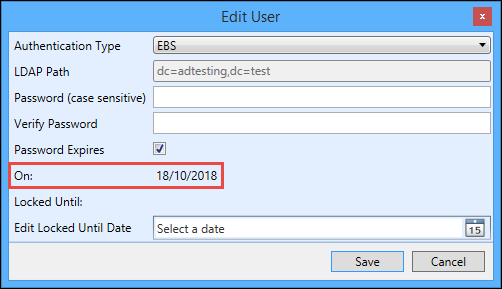
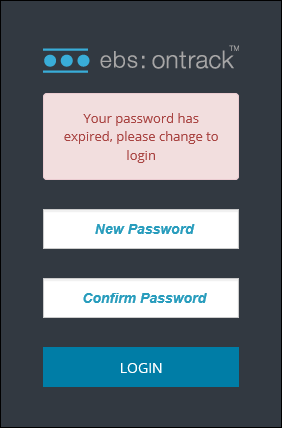
When a user tries to authenticate into EBS, if they enter correct credential information, but the USERS.PASSEXPIRYDATE field is populated, and is before or on today's date, then the user is also forced to change their password before continuing.
The user can then enter a new password and confirm the password in the following:
-
Central and Shape

-
Ontrack Staff Hub and Ontrack Learner Hub
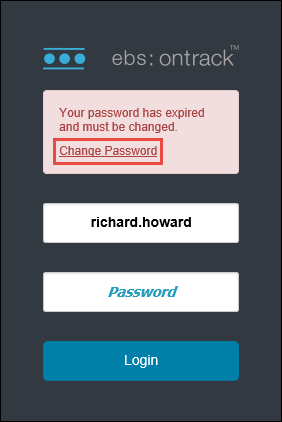
For the following EBS products, users need to click the Change Password link that is displayed on the respective login page when trying to log in with an expired password to be redirected to Ontrack Staff Hub to change their password:
-
Ontrack Teaching and Learning
-
EBS Web
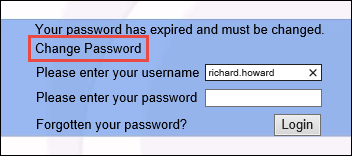
The Change Password link is displayed for Ontrack Teaching and Learning, EBS Reports and EBS Web providing the Ontrack Staff Hub URL is entered in the Ontrack Hub URL institution setting on the Ontrack screen.